Soil Preparation
STEP 2 – Prepping the soil
Proper soil preparation prior to installation of the sprinkler system is critical to saving water usage for many years to come. This process will allow water to penetrate deeper into the soil profile for a healthier plant. This also reduces the amount of watering needed.
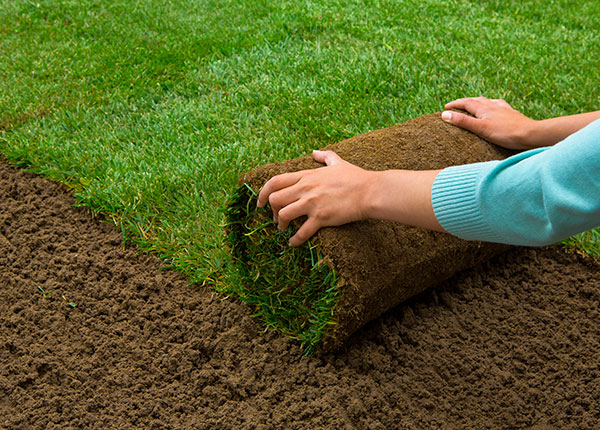
When the area is clean of dead material, it is time to prepare the soil for your new sod. This is best done with a rototiller and a stiff metal garden rake (not a flexible leaf rake).
- Remove rocks and other debris with the garden rake.
- For best results, add organic soil amendments at a rate of 4-5 yards per 1,000 square feet.
- Rototill the area 6 to 8 inches deep. Rototillers can be rented at many rental yards and home improvement centers.
- Install your underground sprinkler system and water settle your trenches.
- Work the soil, level and smooth with rake.
- For Retail customers, compact the soil with a roller. A roller can be rented at many rental yards and home improvement centers. A roller can be used after sod installation to improve contact with the soil. Then, re-rake to correct high and low areas to uniform level of the soil.
- Final grade should be 1 inch below walkways and driveways.
- Spread the area with starter fertilizer at rate recommended on the label.
Once the soil is prepared, the next step in installing new sod would be to either make repairs to the existing irrigation system or install a new one.

Get A Quote Online
Getting a quote for your sod is easy and convenient. Just let us know how much you need and when you need it. We can even arrange to deliver it right to your work site.

