Preparation
Best practices to get the most out of your sod
STEP
1
Removing the old lawn
Before removing your old lawn, it is easier if the old lawn is completely dead. Doing this requires a little more time but gives better results in the end. This process also works for areas that are mainly weeds and you are trying to prepare the area for new sod.
STEP
2
Soil preparation
Proper soil preparation prior to installation of the sprinkler system is critical to saving water usage for many years to come. This process will allow water to penetrate deeper into the soil profile for better water retention and a healthier plant. This also reduces the amount of watering needed.
STEP
3
Sprinkler system installation and audit
A properly installed and maintained underground sprinkler system is essential to a healthy lawn. Poorly-installed or adjusted irrigation will not only hurt the health of your lawn, but also waste precious water.
STEP
4
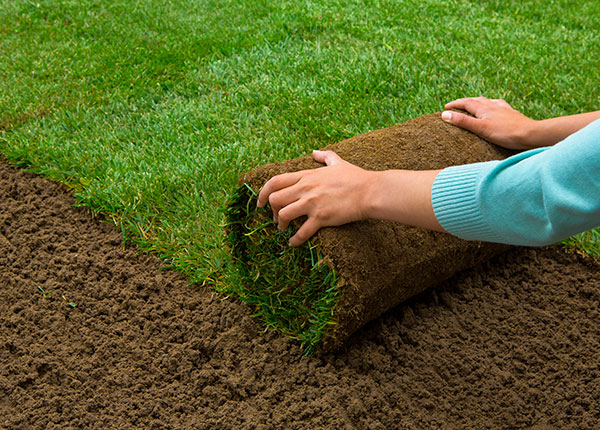
Sod installation
Don’t order the sod until the first three steps have been completed! Ensure the sod is kept moist even during the installation process.
STEP
5
Watering
Lightly sprinkle any completed installed area(s) to prevent drying as soon as possible. After the complete lawn is installed, start to soak your new sodded lawn with three (3) light applications per day, spread out over the morning, day and early evening to keep the roots from drying and for deeper water penetration.
STEP
6
Troubleshooting
New lawns sometimes need some help to maintain their health. Brown spots are thinning spots can easily be treated if addressed in a timely manner.
Get A Quote Online
Getting a quote for your sod is easy and convenient. Just let us know how much you need and when you need it. We can even arrange to deliver it right to your work site.